Table of Contents
Taking a screenshot on your Windows computer is a useful skill that can help you capture and share information quickly and efficiently. Whether you need to document an error message, save a portion of a webpage, or keep a record of an important document, knowing how to take a screenshot is essential. This guide will provide you with simple methods to capture your screen effectively.
Method 1: How to Take a Screenshot on Windows Using the Print Screen Button

Full-Screen Screenshot
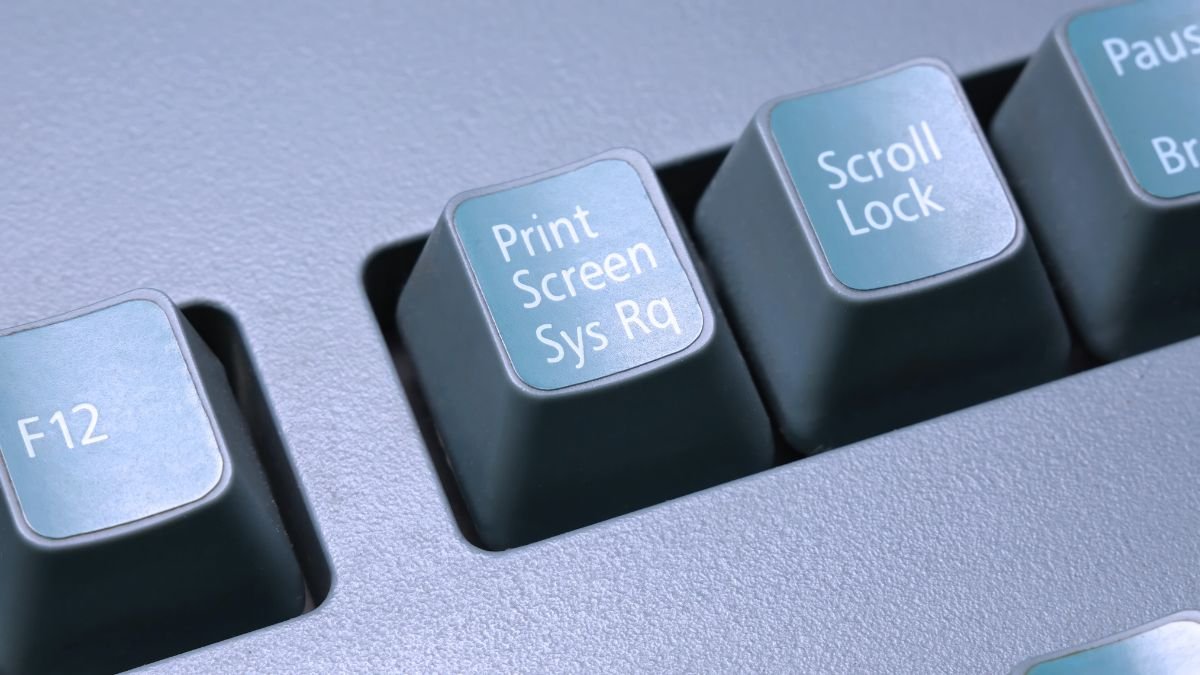
- Locate the Print Screen Button: On your keyboard, find the “Print Screen” (often abbreviated as “PrtScn” or “PrtSc”) button. This key is typically located in the upper-right corner.
- Capture the Screenshot: Press the “Print Screen” button. This action captures an image of your entire screen and copies it to your clipboard.
- Save the Screenshot: Open an application like Paint or any word processor. Press
Ctrl + Vto paste the screenshot. Save the file in your desired format (e.g., PNG, JPEG).
Active Window Screenshot
- Select the Window: Click on the window you want to capture to make sure it is active.
- Capture the Active Window: Press
Alt + Print Screensimultaneously. This will capture only the active window and copy it to your clipboard. - Save the Screenshot: Open Paint or any other document editor. Press
Ctrl + Vto paste the screenshot, then save the file in your preferred format.
Method 2: How to Take a Screenshot on Windows Using Snipping Tool

Opening Snipping Tool
- Access the Snipping Tool: Type “Snipping Tool” into the search bar and select it from the search results.
- Choose the Snip Type: Click on “New” and select the type of snip you want (Free-form, Rectangular, Window, or Full-screen).
Capturing the Screenshot
- Capture the Area: Drag the cursor to select the area you want to capture.
- Edit and Save: After capturing, you can edit the screenshot if necessary. Save the image by clicking on the disk icon or by pressing
Ctrl + S.
Method 3: How to Take a Screenshot on Windows Using Snip & Sketch
Opening Snip & Sketch
- Launch Snip & Sketch: Type “Snip & Sketch” in the search bar and open the application.
- Start a New Snip: Click on “New” to begin the screenshot process.
Capturing the Screenshot
- Select the Area: Choose the type of snip you want (Rectangular, Freeform, Window, or Full-screen) and select the area to capture.
- Edit and Save: You can edit the screenshot using the tools available in Snip & Sketch. Click on the disk icon or press
Ctrl + Sto save your screenshot.
Method 4: How to Take a Screenshot on Windows Using Keyboard Shortcuts
Windows Key + Print Screen
- Full-Screen Capture: Press
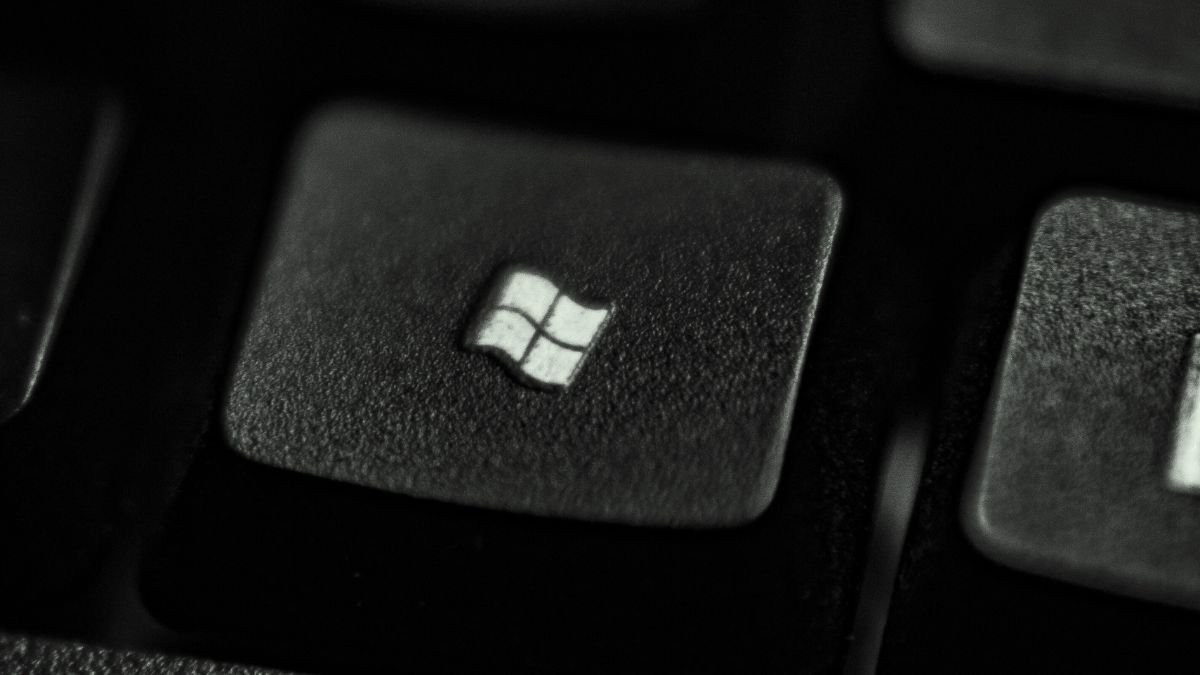
Win + Print Screen. This will capture your entire screen and automatically save the screenshot to the “Screenshots” folder in your “Pictures” directory.
Windows Key + Shift + S

- Select Area: Press
Win + Shift + Sto open a small menu at the top of your screen. - Choose the Snip Type: Select the type of snip you want (Rectangular, Freeform, Window, or Full-screen).
- Capture and Save: Your selected area will be copied to the clipboard. Open Paint or another editor, press
Ctrl + Vto paste, and then save your screenshot.
Conclusion
Capturing screenshots on a Windows computer is a straightforward process with multiple methods to suit your needs. Whether using the Print Screen button, Snipping Tool, Snip & Sketch, or various keyboard shortcuts, you can easily capture and save images of your screen. Practice these methods to find the one that works best for you, ensuring you can document and share information effectively.
